
Buying flooring for your bathroom can be overwhelming. This list of 3 types of flooring will help to make sure you get the flooring you need for your bathroom!
The types of flooring in your bathroom has a tremendous visual impact. You are going to see your floor every time you are in the bathroom. For that reason, I choose flooring based on looks first, functionality second. For that reason, I have chosen 3 types of flooring for your bathroom remodel.
What is the functionality of the floor? For many, in a bath, the floor needs to be able to withstand water and humidity. That’s why you see so many tile floors in bathrooms. I just want to take a moment and say personally, the ability to withstand water is not crucial to me. I don’t know what people are doing out there, but my water stays in my sink, tub, and shower – I don’t get it all over the floor. If I do happen to get water on the floor, I wipe it up.
The 3 types of flooring for your bathroom remodel that I’m going to discuss are:
- Engineered hardwood
- Luxury vinyl
- Tile
This post is all about the best flooring for your bathroom.
Engineered Hardwood Flooring
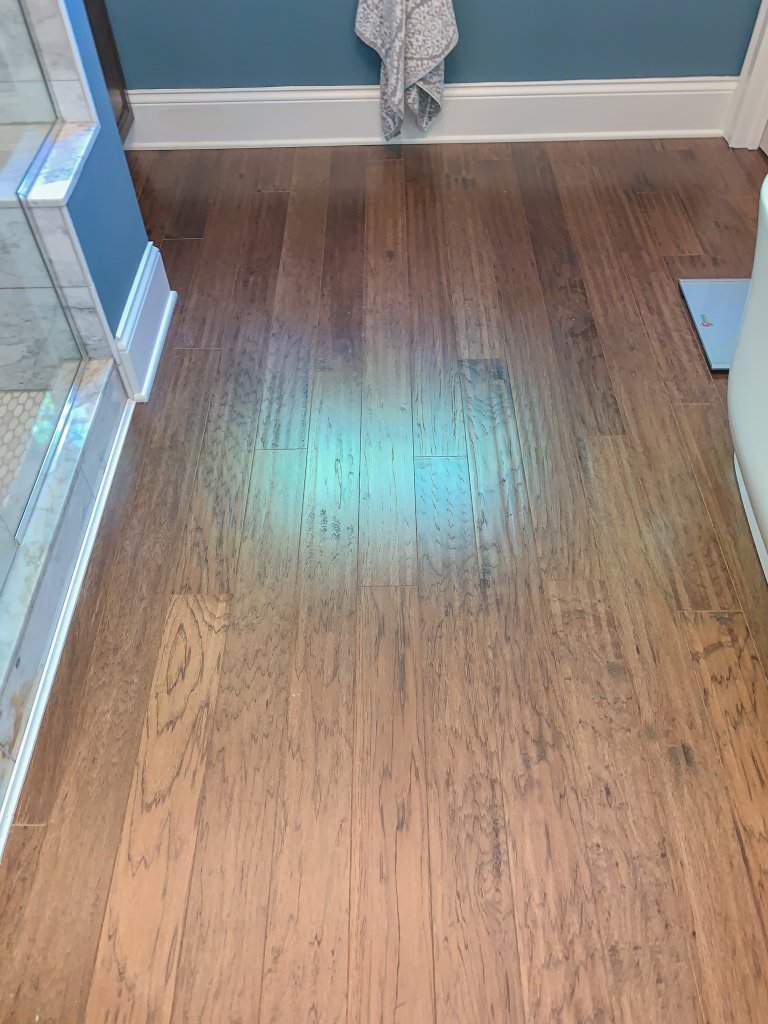
Hardwood, specifically engineered hardwood, is my first choice for a bathroom because it is beautiful, warm, and durable.
Why:
Engineered hardwood is more durable for a couple of reasons. First, it is constructed using many thin layers glued together. Each layer is positioned with the grain running a different direction, which prevents the wood from warping or cupping. The top layer is the best layer of wood that is finished. Those thin layers are much less porous than solid hardwood flooring, significantly reducing the amount of water they can absorb. Second, the finish on engineered hardwood is factory applied. In the factory, they can control things like temperature and dust that cannot be controlled when finished in your home. The finish is also applied in multiple, usually 5-7, coats. The finish will also include UV-cured urethane with aluminum oxide. The aluminum oxide hardens to help prevent scratches and fading.
DIY?
Installing engineered hardwood requires special tools and requires you to know how to square up a room. If you are a strong DIY’er, you may give it a try. You can rent the tools and watch YouTube video’s on how to square up a room and how to install it. It is hard work. I lot of bending and being on your knees. But once you get the room squared up, it does roll along pretty fast.
Where to Buy:
Engineered hardwood can be purchased at big box stores, specialty flooring stores, and online. Do not assume the specialty store is the most expensive. They are going to have your best selections and the most knowledgeable help. They will be able to tell you things you should understand about your floor like:
- The thickness of the wear layer – that’s the pretty wood veneer you see on top. A few are thick enough to handle a sanding or two, so you can refinish over the years. (2mm or more can be refinished at least once.)
- The thickness of the core in # of ply- that’s the layers under the wear layer. 9-ply to 11-ply is considered excellent.
- The number of coats of finish applied and whether or not aluminum oxide is in the finish.
Luxury Vinyl Flooring
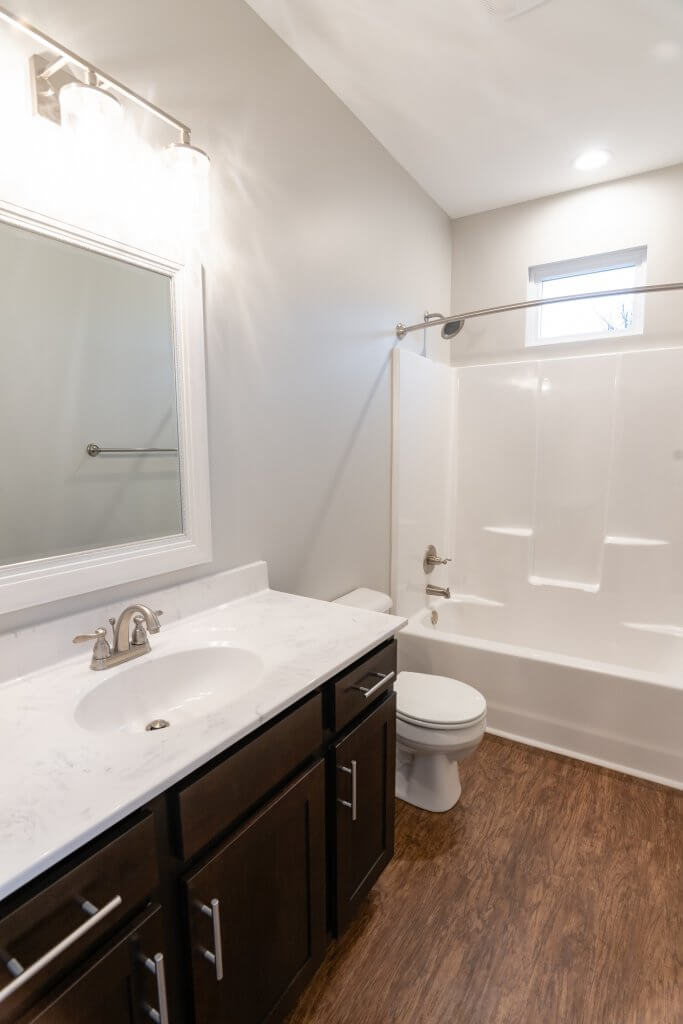
After engineered hardwood, my preference would be for a luxury vinyl plank or tile. It is warm, easy to clean, sturdy, water-resistant, and well priced.
Why:
This product is entirely water-resistant. That does not mean the subfloor below is water-resistant. Large amounts of water spilled on the floor, it would run through the floor to the subfloor and through the subfloor to whatever is below. But even if that happened, your floor would not be ruined. You might have to take it up so the subfloor can dry, but it can be reinstalled.
DIY?
Yes! Like hardwood, you still have to square up the room, but other than that, you really don’t need special tools. The labor is just as hard because of the bending and stooping. Be advised that your subfloor needs to be really smooth and free of blemishes. If you buy a thinner luxury vinyl product, it will conform to depressions or bumps in your subfloor and be visible.
Where to Buy:
Luxury vinyl can be purchased at big box stores, specialty flooring stores, and online. Do not assume the specialty store is the most expensive. They are going to have your best selections and the most knowledgeable help. They will be able to tell you things you should understand about your floor like:
- The thickness of the wear layer (12 mils or higher is considered reasonable in the homebuilding industry)
- Installation method, glue down or floating (I would only do floating)
- Backing layer – cork, foam, or none. I’ve installed all three. The cork is probably my favorite in terms of sound absorption.
Tile Flooring
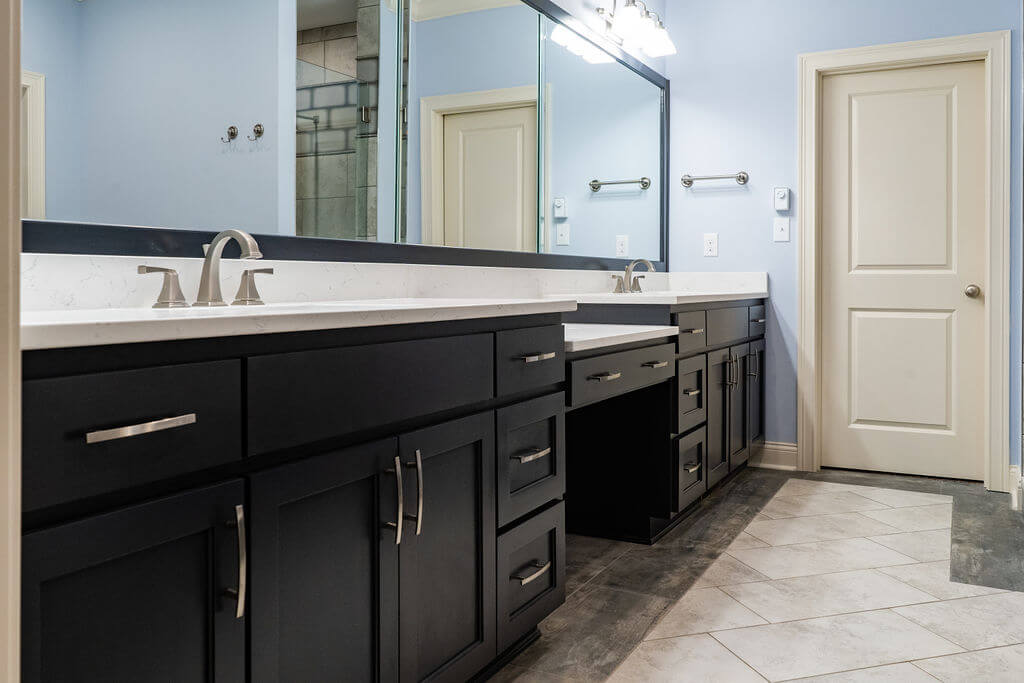
My third choice would be tile. Tile comes in so many beautiful designs and can be laid in an infinite number of patterns. Thus, if you are looking for a highly customized, luxurious look, tiles will be your option. Tile is the expected use in a bathroom. If you are remodeling for resale and your home valued at $250,000 or more, buyers will expect to see a tile floor, especially in the master bath.
Why:
What I feel are drawbacks to tile floor: any tile floor, not just the bathroom, is that it is cold and it has grout. Grout freaks me out. To properly clean grout, it required a scrub brush and getting on your hands and knees. That is because it is lower than the face of the tile. So even if you mop your floors often, your mop never touches the grout, so it is not getting clean. I hate that. Too much work for me, and on top of that, it is cold? That’s enough to keep it off my list forever.
DIY?
Tile doesn’t have to be the most expensive choice. You can purchase 12×12 or 12×24 tile from a box store or online for a couple dollars a square foot. Installing a basic tile floor is a mid-level DIY project. So if you have experience and feel comfortable, you may want to give it a try. It will cost more than luxury vinyl, but not 100’s of dollars more.
I will caution you that there is a proper way to install tile on a floor, and if it is not done correctly, the tile will crack and break, and the grout will crumble. Tile is never to be installed on the subfloor. At a minimum, you need to install it over the concrete backer board. I prefer the newer technology that has replaced the concrete backer board. It is a polyethylene waffle mat that protects your subfloor from moisture. It prevents a moving subfloor (think high humidity versus low humidity) from cracking your tile and grout. I’m linking the product here. There are lots of good YouTube videos showing you how to install it. It is a great product, and my tile setter uses it in on all of my jobs.
Where to Buy:
If this is going to be a DIY purchase, you need to purchase your tile at a specialty tile shop. They will help you with the quantity you need, the backing material (Ditra mat from Schluter), and the setting materials. This help is invaluable and critical to a well-done DIY. You will have to purchase or rent a tile saw. There are a lot of good YouTube videos explaining how to lay tile. If you are a DIY’er, this is something you can do.
If you are having a tile setter install your floor tile, you can buy it virtually anyplace.
This post is all about the best flooring for your bathroom.
I hope I have armed you with enough information to make the right buying decision on your flooring. I’m committed to educating homeowners and helping them love the process of remodeling their home. I believe taking the time to learn about the bathroom components will make your rebuild go faster, smoother, and help keep costs down. If you have a specific remodel question, send me an email at Starr (at) starrtingle.com. I would love to help you out!
Be sure to follow me on Facebook @Sanctuary Homes, Instagram at @sanctuaryhomes, and Pinterest at Sanctuary Homes. THANK YOU SO MUCH FOR YOUR TIME!! Chow for now!